

How to Choose the Right LED Downlight – Complete Buying Guide
1. Confirm Ceiling Cutout Size (Most Important First Step)
Measure the hole diameter in your ceiling before purchasing.
- Standard sizes: 70mm / 90mm / 110mm / 140mm cutout
Do NOT judge by trim outer size; only use the inner hole size.If the hole is slightly too big, choose a wider trim cover. If too small, you will need to cut plasterboard.
2. Voltage Type
-
220–240V Mains LED downlight (Most homes)
Built-in driver, plug-and-play, direct household wiring. Recommended for replacements.
-
12V Low voltage
Requires external transformer. Mostly older halogen retrofit; avoid unless your ceiling already has transformers.
3. Power (Wattage) & Brightness
Forget just watts – Lumens (lm) measures real brightness.
General reference for indoor spaces:
| Area | Recommended Lumens | Equivalent LED Wattage |
|---|---|---|
| Bedroom / Corridor | 300–500 lm | 5W–7W |
| Living room / Dining | 600–900 lm | 9W–12W |
| Kitchen / Bathroom | 800–1200 lm | 12W–18W |
Tip: Avoid overly bright lights in bedrooms.
4. Colour Temperature (CCT, Kelvin K)
This controls warm or cool light:
-
2700K – 3000K Warm White
Yellowish, cosy. Best for bedrooms, living rooms, restaurants.
-
3500K Natural Warm White
Balanced, popular choice for living areas.
-
4000K Cool White / Neutral White
Clear white, no yellow. Kitchen, study, office, bathroom.
-
5000K–6500K Daylight
Very stark cool blue-white. Mainly workshops, garages.
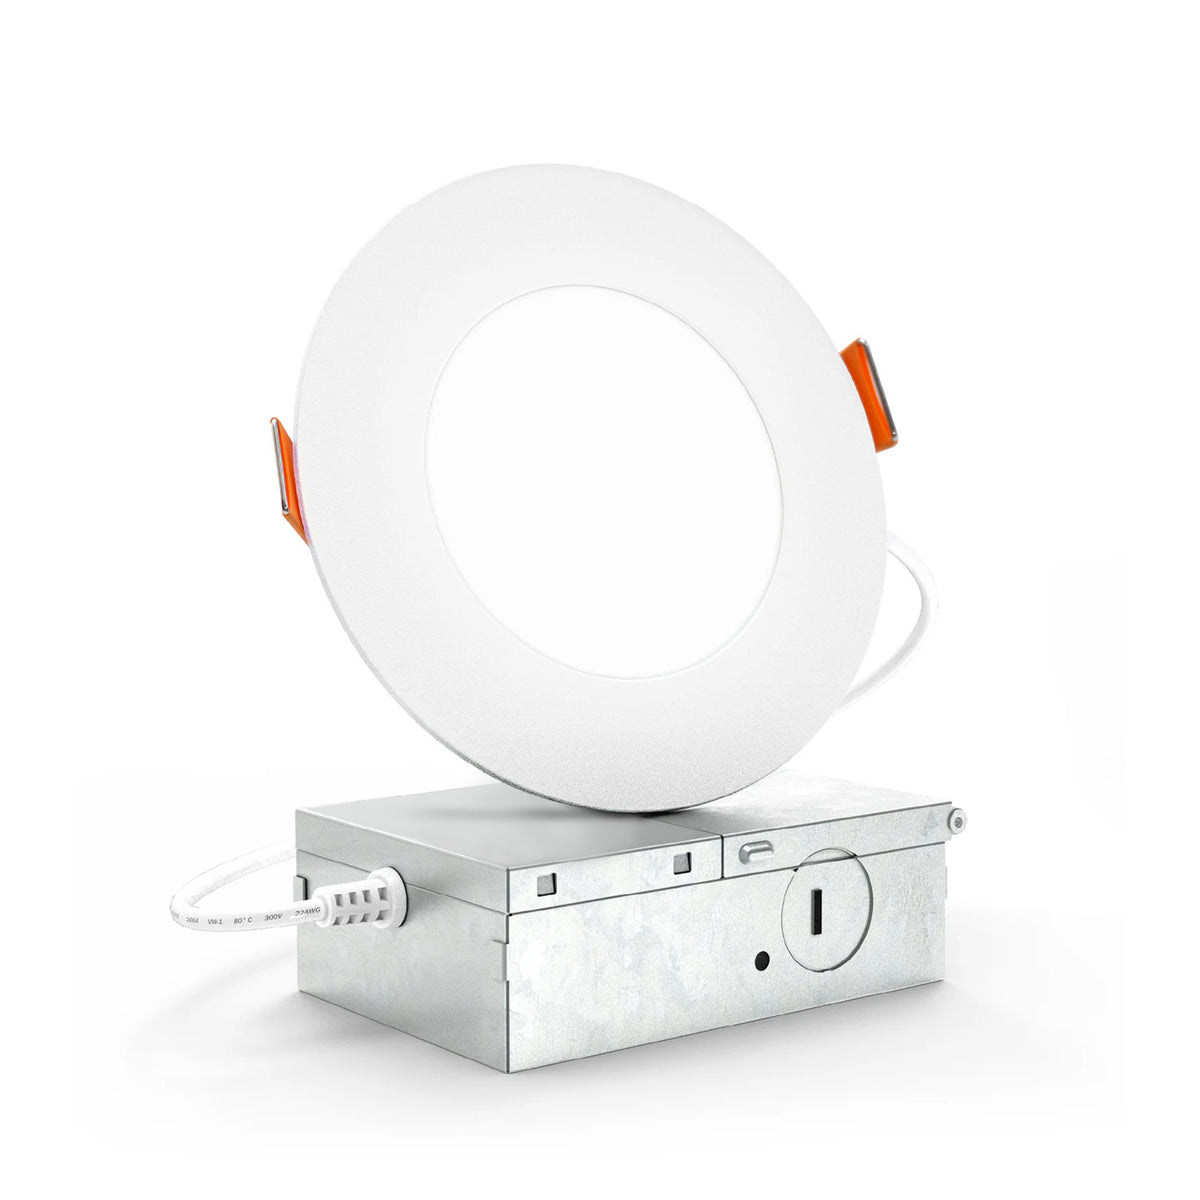
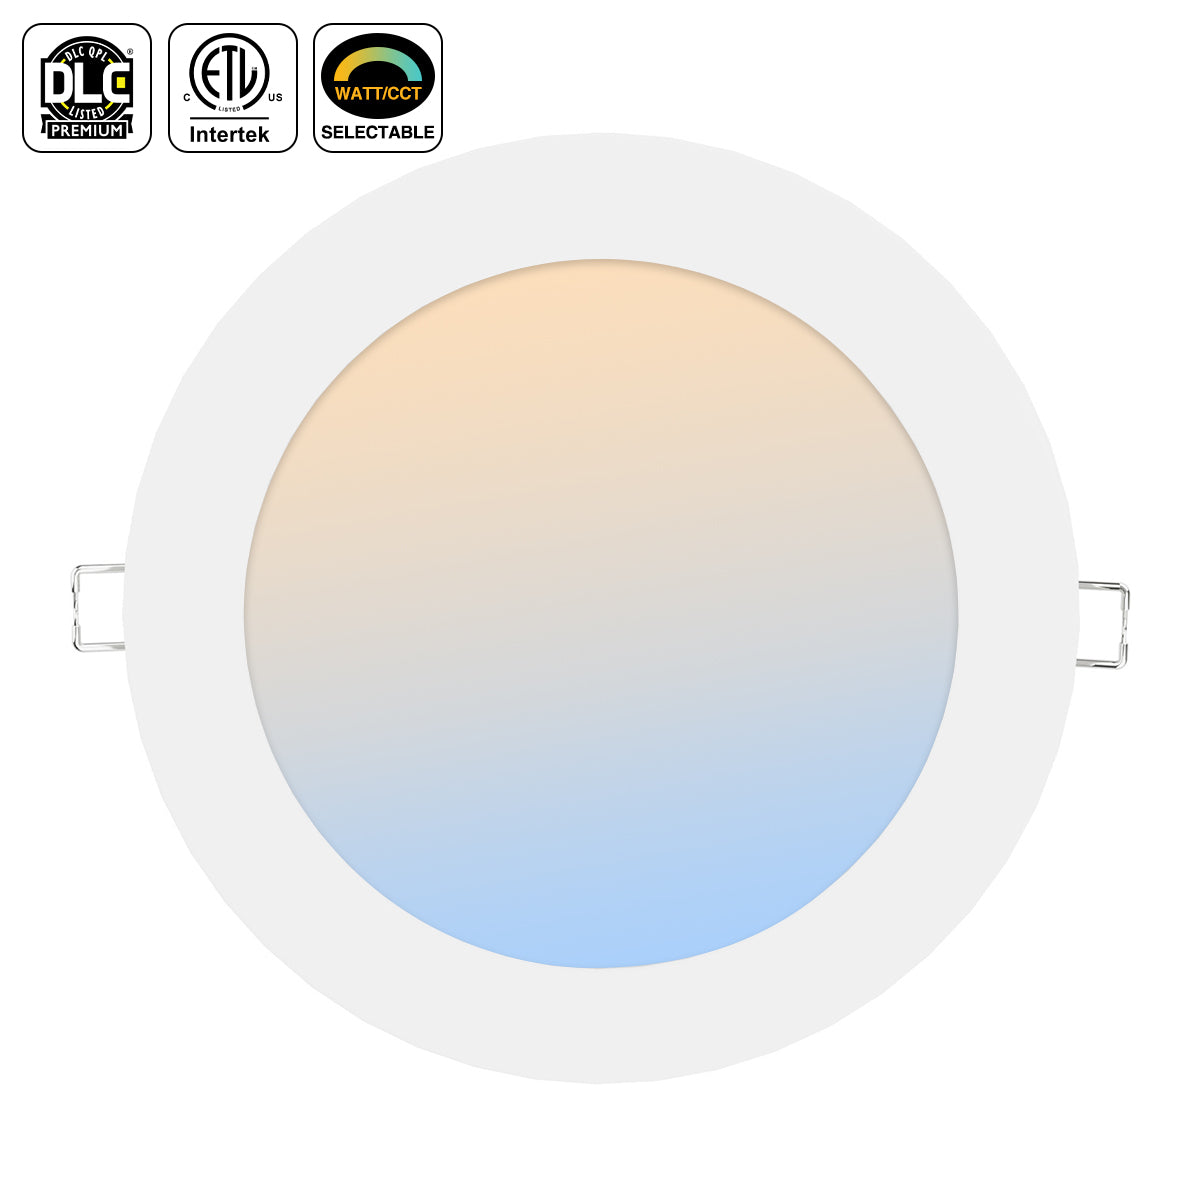
Many modern lights are Tri-colour CCT (3CCT) – switch between 3 temperatures with a small switch on the driver, great if you haven’t decided.
5. Beam Angle
Controls how wide the light spreads
- 15°–24° Narrow beam: Accent lighting (decor wall, artwork)
- 30°–45° Standard: General room lighting (most common choice)
- 60°–120° Wide beam: Large area flood lighting, low ceiling rooms
6. CRI (Colour Rendering Index)
CRI shows how accurately colours look under the light.
- CRI >80: Standard home use (sufficient for most rooms)
- CRI >90: High quality. Ideal for kitchens, makeup mirrors, retail, artwork.
7. IP Rating (Critical for Wet Zones!)
- IP20: Dry areas only – living room, hallway, bedroom (cannot use in bathrooms)
- IP44 / IP54: Bathroom, kitchen, balconies (resists splashing water)
Bathrooms always need minimum IP44. Never fit IP20 downlights in shower zones.
8. Dimmable or Non-Dimmable
- If you have wall dimmer switches: Buy dimmable LED downlight
⚠️ Important: Old halogen dimmers often cause flickering. You may need an LED-compatible dimmer.
- No dimmer: Standard non-dimmable model saves cost.
9. Heat Dissipation & Fire Safety
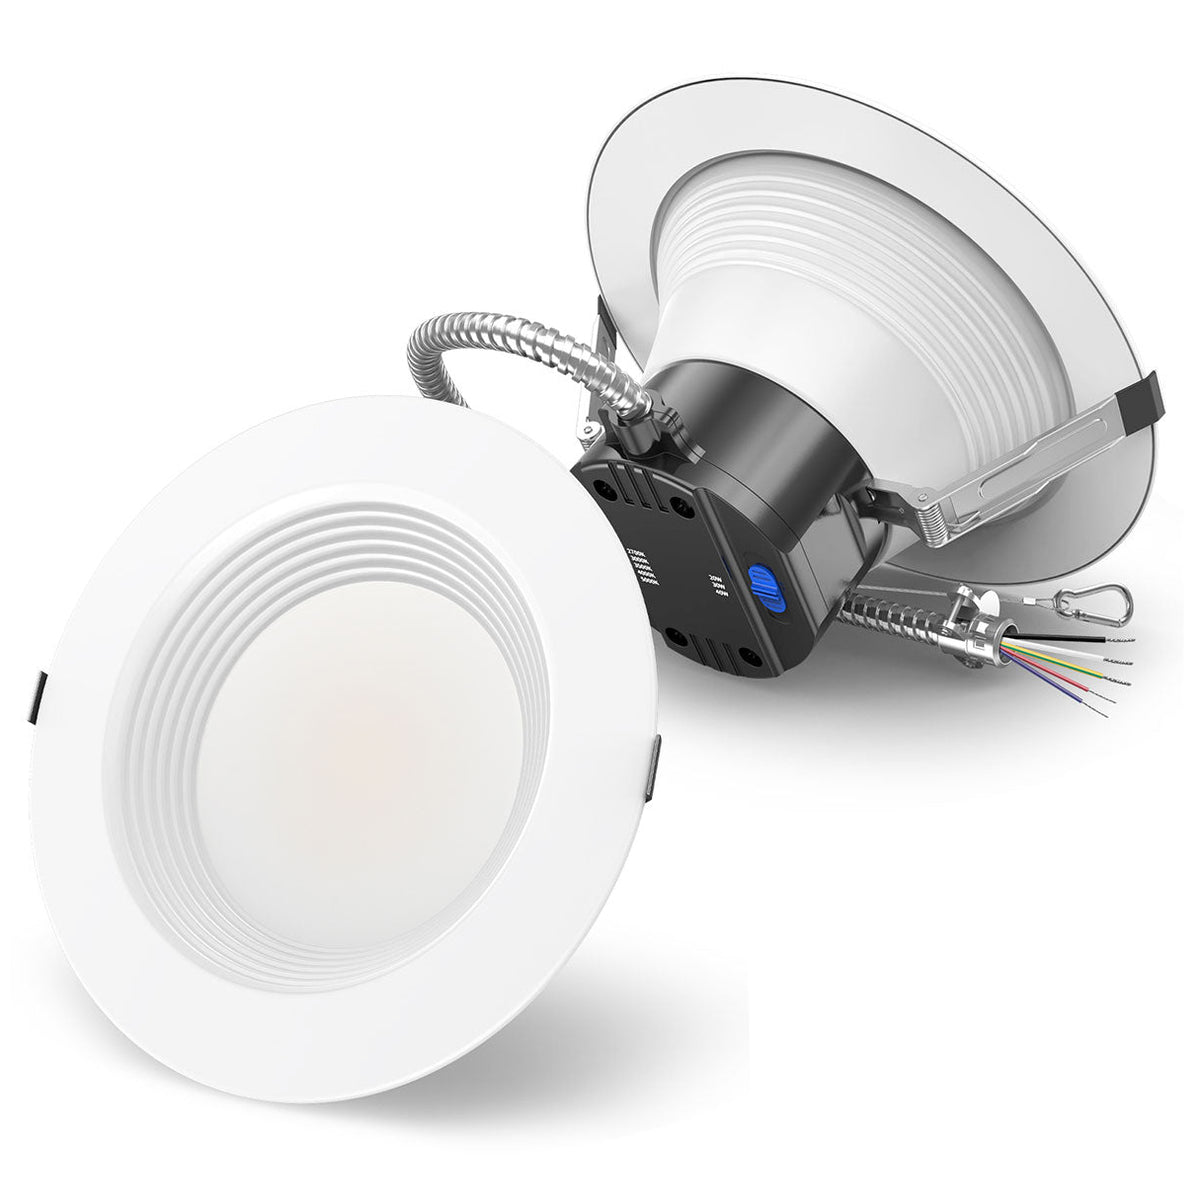
- Aluminium housing = better heat dissipation, longer lifespan. Cheap plastic models burn out faster.
- Check label: Insulation coverable / IC rated
If ceiling has thermal insulation above the light, you MUST choose IC rated downlights to prevent fire risk.
10. Style & Installation Type
- Fixed downlight: Light points straight down (standard)
- Tiltable / adjustable downlight: Can aim light at walls, cabinets, decorations
- Slim low-profile: For thin ceilings with limited cavity depth (check required ceiling depth!)
Quick Selection Checklist (Summary)
- Measure ceiling cutout hole size
- Check location: Bathroom? Pick IP44+
- Choose colour temperature (3000K / 4000K or 3CCT)
- Select brightness (lumens/watt) and beam angle
- Confirm if dimmable is needed
- Check ceiling insulation , choose IC rated if required
- Prefer aluminium body, CRI >=80
How to Replace an LED Downlight (Step-by-Step Guide)
Critical Safety First Rule: Always turn OFF the circuit breaker for the ceiling lights before starting work. Do not only use the wall switch — switches can be faulty. Confirm no power with a light tester if you have one.
Tools You Will Need
- New LED downlight (check cutout size, wattage, voltage: 220V AC domestic / 12V low-voltage)
- Flathead screwdriver
- Small flashlight
- Electrical tape (optional)
- Work gloves (optional)
Step 1: Cut Electrical Power
- Go to your home consumer unit (fuse box).
- Switch off the circuit breaker controlling the ceiling lighting circuit.
- Toggle the wall light switch on/off to verify the light is dead.
Step 2: Remove the Old Downlight from Ceiling
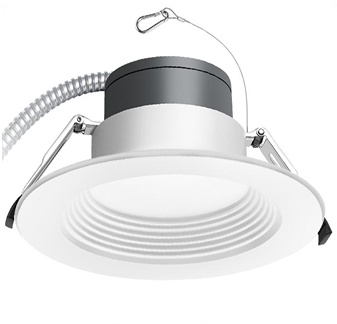
Most modern LED downlights use spring clip retention (no screws):
- Insert fingers gently around the edge of the light trim ring.
- Pull the fixture straight down slowly from the ceiling cutout.
The two metal spring clips will squeeze inward as you pull. Do not yank hard – wires are still connected above.
- Lower the light far enough to access the wiring connector inside the ceiling cavity.
Step 3: Disconnect the Wiring
Two common wiring setups:
Case A: Mains voltage 230V LED downlight (most common)
It has a separate plastic terminal connector block between mains cable and light driver:
- Unclip / unscrew the plastic wiring connector. Separate the light driver from house wiring.
Case B: Older low-voltage 12V halogen downlight (being upgraded)
You will see a transformer. Disconnect the low voltage wires from the transformer.
If replacing old halogen with new LED: remove the old halogen transformer; new LED usually has its own built-in driver.
Step 4: Prepare the New LED Downlight
- Unpack the new light; locate its built-in LED driver.
- Check the ceiling cutout size matches the new light specification.
- Connect the house wiring cable to the new light’s driver connector:
- Brown / Red = Live (L)
- Blue / Black = Neutral (N)
- Green/Yellow = Earth (Ground)
- Push the wiring plug firmly until it clicks locked. Wrap loose joints with electrical tape if the connector feels loose.
Step 5: Fit the New Downlight into Ceiling
- Fold the two metal spring clips upward against the body of the light.
- Carefully feed the driver and all wiring fully up into the ceiling cavity (keep wires tucked neatly so they are not pinched).
- Push the light body straight up into the ceiling cutout.
- Once past the plasterboard, the spring clips will spring open behind the ceiling board.
- Push the trim ring flush against the ceiling surface; wiggle lightly to ensure it sits level and secure.
Step 6: Restore Power & Test
- Return to the fuse box and switch the lighting circuit breaker back ON.
- Turn on the wall light switch. Check if the LED light turns on normally.
Common Important Tips & Warnings
- Matching size: Measure ceiling hole diameter before buying replacement; standard sizes: 70mm, 90mm, 110mm cutout.
- Fire safety: Ensure LED driver is fully inside ceiling void, not crushed by insulation. Some lights require insulation guard covers.
- Dimmable lights: If your old light worked with a dimmer, buy a dimmable LED downlight + compatible LED dimmer. Regular LEDs will flicker with old dimmers.
- If you feel unsure handling wiring, hire a qualified electrician. Incorrect wiring creates fire risks.


