

What are the advantages of upgrading LED troffer lights?
Advantages of Upgrading to LED Troffer Lights
1. Huge Energy Cost Savings (Core Benefit)
- Old fluorescent troffers (2×4 four-lamp) consume ~120–130W; equivalent LED retrofits only use 30–45W. This cuts lighting power use by 55%–70%.
- Lower electricity bills for offices, schools, retail, warehouses, and commercial buildings.
- Many power companies offer cash rebates for DLC-certified LED troffer upgrades, offsetting upfront purchase costs.
2. Ultra-Long Service Life & Minimal Maintenance
- LED troffers last 50,000–100,000 hours, compared to only 8,000–12,000 hours for fluorescent tubes.
- Fluorescent lights need frequent tube/ballast replacements; LED has no consumable tubes or failing ballasts.
- Less labor cost for electricians or facility staff to climb ladders and replace faulty lights; fewer service disruptions.
3. Superior Light Quality & Comfort
- No flicker, no hum: Fluorescent ballasts buzz and flicker (strains eyes, causes headaches); LED provides steady, silent light.
- Instant full brightness: No warm-up delay, unlike fluorescent tubes that dim in cold environments.
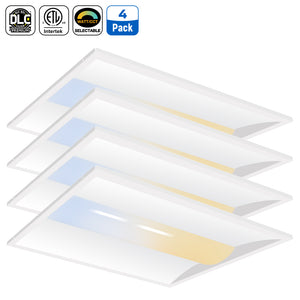
- Customizable color temperature (CCT): Adjustable 3000K warm white, 4000K neutral white (office standard), 5000K cool white for detailed work.
- High CRI options (CRI 80–90+): Render colors accurately, ideal for retail, design studios, medical spaces.
- Uniform, shadow-free illumination: Flat LED panels eliminate dim hotspots common with old parabolic fluorescent louver troffers.
4. Enhanced Safety & Environmental Protection
Safety
- No mercury: Fluorescent lamps contain toxic mercury; broken tubes create hazardous waste cleanup risks. LED has zero toxic heavy metals.
- Low heat output: Fluorescent ballasts run hot and pose minor fire risks; LED operates cool, reducing building AC load and fire hazards.
- Low voltage driver design reduces electric shock risk compared to unmodified ballast-bypass fluorescent fixtures.
Eco-friendly
- Less waste: Fewer discarded tubes, ballasts, and landfill waste over decades.
- Lower carbon footprint: Less power draw reduces building greenhouse gas emissions.
- Fully recyclable aluminum and plastic housing materials.
5. Flexible Smart Control Compatibility
LED troffers easily pair with modern energy-saving controls that fluorescent systems struggle with:
- 0–10V dimming to adjust brightness for meeting rooms, hallways, or off-hours.
- Built-in occupancy/motion sensors: Auto turn off lights when spaces are unoccupied for extra power savings.
- Daylight harvesting: Dim lights automatically when natural sunlight fills the room.
- Smart building/Bluetooth/Wi-Fi connectivity for centralized lighting management.
6. Lower Hidden Operating Costs
- Reduced air conditioning expense: Fluorescent lighting releases massive heat; cool LEDs cut cooling load in commercial spaces.
- Longer ceiling tile and fixture lifespan: Less heat discolors ceiling tiles and ages metal troffer housings.
- No special disposal fees: Fluorescent lamps require costly hazardous waste recycling; LED waste is standard dry waste.
7. Better Durability & Adaptability
- Resistant to frequent on/off cycling: Fluorescent tubes burn out fast with repeated switching; LED suffers zero degradation from constant power cycling.
- Damp-rated LED troffer models available for restrooms, break rooms, or covered walkways.
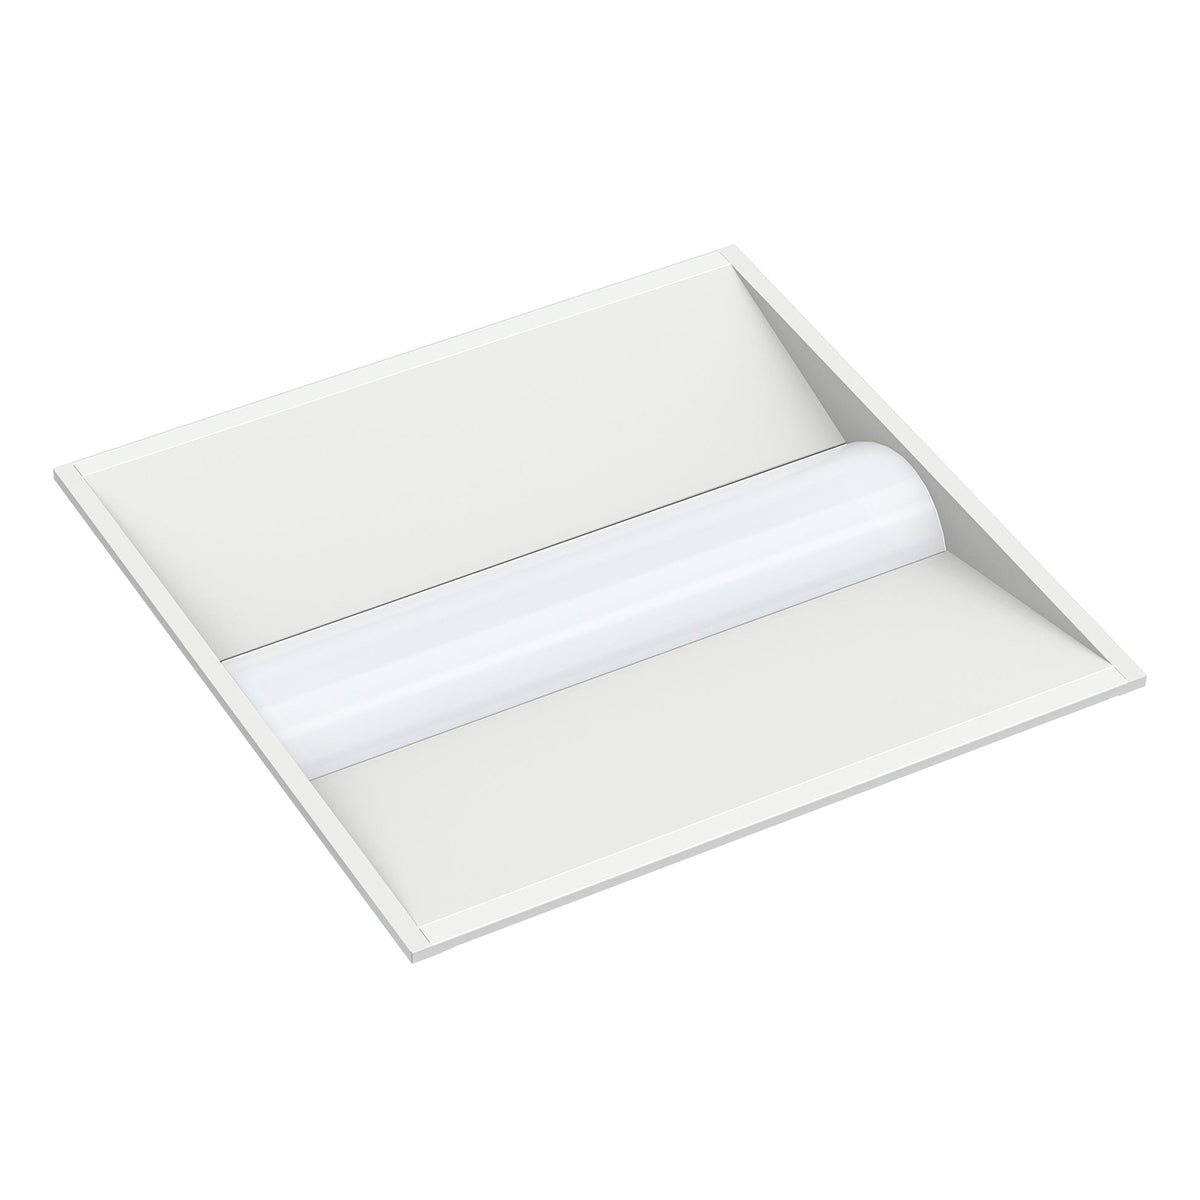
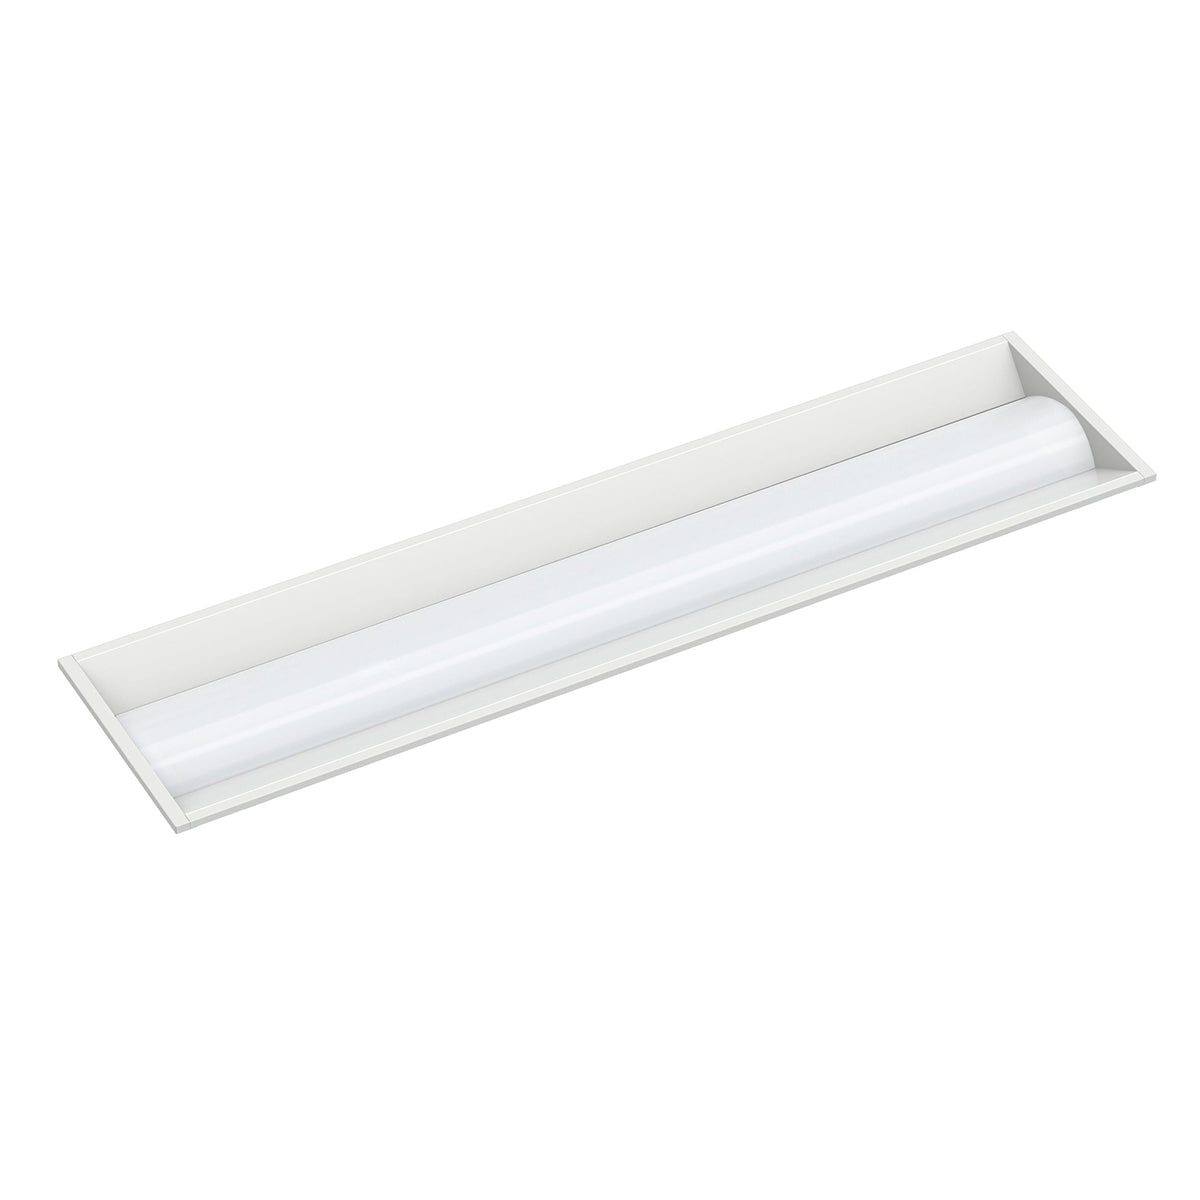
- Slim, low-profile design improves ceiling aesthetics, replacing bulky old fluorescent troffer frames.
8. Long-Term Financial ROI
Combining electricity savings, zero maintenance labor, utility rebates, and lower cooling costs, most LED troffer upgrades deliver a full return on investment in 1–3 years for commercial properties. After the payback period, lighting becomes nearly zero-cost for decades.
How long does it take to replace fluorescent troffers with LED troffers?
Time Required to Replace Fluorescent Troffers with LED Troffers
The timeline splits into 3 scenarios: simple LED tube retrofits, internal LED retrofit inserts, full complete troffer panel swap, plus bulk commercial project timelines.
1. Single fixture installation time (1 worker, standard 2×4 troffer)
Option A: LED T8 Tube Retrofit (Ballast bypass / Type B)
- Prep + power lockout: 3–5 mins
- Remove old tubes, cut & remove ballast, rewire sockets: 8–12 mins
- Install LED tubes, add warning labels, test: 3–5 mins Total per unit: 15–22 minutes
Option B: LED Retrofit Insert Kit (most common commercial upgrade, reuse original metal housing)
- Cut power, remove lens/tubes/ballast: 5–7 mins
- Mount brackets + safety cables, wire LED driver: 7–10 mins
- Lock LED panel, adjust CCT switches, test: 3–5 mins Total per unit: 15–25 minutes
Option C: Full LED Troffer Panel Replacement (remove entire old fixture, new panel into ceiling grid)
- Lock power, take down old troffer + dispose fluorescent parts: 8–12 mins
- Fit new slim LED panel into T-bar ceiling grid, hardwire: 7–10 mins
- Secure, test, clean ceiling tiles: 3–5 mins Total per unit: 20–30 minutes per fixture
2. Productivity rate for one electrician (8-hour workday)
- Tube retrofit: ~22–30 fixtures / day
- LED retrofit insert kits: ~20–25 fixtures / day
- Full troffer panel replacement: ~16–20 fixtures / day
3. Factors that slow down installation
- Ceiling conditions: High ceilings (>3m), damaged ceiling tiles, hard-to-reach corners add 5–10 mins per light
- Wiring complexity: Adding 0-10V dimming, motion sensors, smart controls adds 5–15 mins each
- Safety protocols: Commercial lockout-tagout rules, large office power shutdown coordination
- Waste handling: Mercury tube hazardous waste sorting & storage
- Multi-story buildings: Ladder/equipment transport between floors
4. Large commercial project total timeline example
Office with 200 × 2×4 troffers, 2 electricians installing retrofit inserts:
- Single unit: 20 mins average
- Daily output: 40 fixtures total
- Total install days: 5 full working days Extra time needed before/after installation:
- Pre-inspection, material delivery: 0.5–1 day
- Building power shutdown coordination, cleanup, final inspection: 1 day
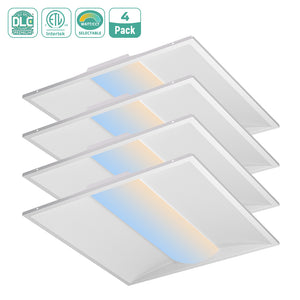
Quick Summary
- Fastest: LED tube bypass retrofit → ~15–22 mins each
- Mid-speed: LED retrofit insert kit → ~15–25 mins each
- Slowest: Full troffer panel replacement → ~20–30 mins each
How to Upgrade LED Troffer Lights (Retrofit Old Fluorescent Troffers)
Most troffer upgrades convert old T8/T12 fluorescent recessed ceiling troffers (2×2, 2×4, 1×4 sizes) to modern LED. There are 3 upgrade paths with full step-by-step installation, safety rules, and selection tips below.
1. Three Main Upgrade Options (Choose First)
Option 1: TLED Tube Retrofit (Lowest Cost, Quickest)
Replace only fluorescent tubes with UL-listed linear LED tubes; reuse original troffer housing, sockets, frame.
- Type A: Plug-and-play, works with existing fluorescent ballast (no rewiring). Limited dimming, lower efficiency.
- Type B (Ballast Bypass): Cut/remove ballast, run mains voltage directly to sockets; highest energy savings. Requires electrician & warning labels.
- Type C: Uses dedicated LED driver, best for dimming/smart controls.
- Pros: Cheap, minimal ceiling disruption
- Cons: Uneven light, old reflector/louver waste light output
Option 2: LED Retrofit Insert Kit (Most Popular Commercial Upgrade)
Drop-in LED panel module that replaces all internal fluorescent parts (tubes, ballast, reflectors, lens). Fits inside your original metal troffer housing without removing the fixture from ceiling grid.
- Pros: Uniform flat-panel lighting, high efficacy (120–140 lm/W), CCT/lumen adjustable, easy wiring, 15–20 min install per unit
- Cons: Higher material cost than TLED tubes
Option 3: Full LED Troffer Panel Replacement (Complete Renovation)
Remove the entire old fluorescent metal box and install a brand-new slim LED flat panel troffer into the T-bar ceiling grid.
- Pros: Flush clean ceiling look, full structural refresh, built-in motion sensors/dimming
- Cons: Slow install (20–30 min each), ceiling tile risk, higher labor & waste disposal cost
2. Pre-Upgrade Preparation
Tools Required
- Voltage tester / multimeter (critical for power safety)
- Phillips/flat screwdrivers, wire strippers/cutters
- Wire nuts, electrical tape, safety lanyards (included with retrofit kits)
- Safety gloves, safety glasses, step ladder
- Marker & hazard warning labels (mandatory for Type B retrofits)
Key Product Selection Criteria
- Size Match: Match troffer dimension (2×4 / 2×2 / 1×4)
-
Light Quality:
- CCT: 3500K–4000K neutral white for offices; 3000K warm for retail; 5000K cool for warehouses
- CRI ≥80 for general workspaces; CRI ≥90 for design/retail
- Certifications: DLC Premium (utility rebates), UL, damp-rated if near bathrooms
- Controls: Pick dimmable, Bluetooth, or occupancy sensor-ready kits for extra energy savings
- Wattage: Old 4-lamp fluorescent troffer (~128W) → LED retrofit ~35–45W (55–70% power cut)
3. Full Step-by-Step Installation (LED Retrofit Insert Kit – Most Common)
Step 1: Lock Out Power (Non-Negotiable Safety Step)
- Turn off circuit breaker for the troffer circuit.
- Use voltage tester to verify NO live voltage inside the fixture.
- Post "Do Not Energize" tag at breaker box.
Step 2: Disassemble Old Fluorescent Components
- Remove the lens/diffuser, parabolic louver, or frame cover from below the ceiling.
- Pull out all fluorescent tubes (dispose per local hazardous waste rules – tubes contain mercury).
- Remove ballast cover, cut wires to disconnect the old ballast, then fully remove ballast, lamp sockets, and internal reflectors.
- Leave only the main supply wires: Black (Line/L), White (Neutral/N), Green/Green-Yellow (Ground).
Step 3: Mount Mounting Brackets to Troffer Housing
- Lift the troffer slightly from the T-grid ceiling bar. Slide metal side/end mounting brackets between the fixture housing and T-bar.
- Secure brackets with self-tapping screws included in the kit.
- Attach safety tether cables to fixture holes to prevent the LED panel from falling.
Step 4: Wire the LED Retrofit Module
Standard wiring color matching:
- Black LED wire ↔ Building black line wire
- White LED wire ↔ Building white neutral wire
- Green LED ground wire ↔ Building fixture ground wire
- Strip ¼” insulation from all wire ends.
- Twist matching wires together and cap tightly with wire nuts; wrap loose connections with electrical tape.
- If the kit has dimming wires (purple/grey), run them to dimmer control wiring if installed.
Step 5: Install LED Panel & Secure
- Hang the LED panel assembly onto the hinge keyholes of the pre-installed brackets.
- Slide the panel horizontally to lock into place, attach safety lanyards to both ends.
- Close end latches to hold the LED module flush inside the troffer housing.
- Adjust DIP switches on the LED driver to set desired CCT (color temp) and lumen brightness if adjustable.
Step 6: Test & Complete
- Double-check all wiring is secure with no exposed copper.
- Restore power at the breaker, turn on the light switch to test uniform illumination.
- Affix mandatory retrofit warning label on fixture exterior (required by electrical codes for modified lighting).
- Clean ceiling tiles around the troffer.
4. Simplified TLED Tube Ballast Bypass Upgrade Steps
- Cut power and test voltage.
- Remove all fluorescent tubes and disconnect/remove the ballast completely.
- Run direct mains wires to each lamp socket (shunted/unshunted matching TLED specs).
- Install Type B single/double-ended LED tubes into sockets.
- Label fixture to warn future technicians line voltage runs to sockets (shock hazard).
- Restore power and test.
5. Critical Safety & Compliance Rules
- Only licensed electricians should perform hardwired ballast bypass (Type B) work – live voltage at sockets creates shock risk.
- Never mix fluorescent tubes with modified LED troffer wiring.
- Properly recycle fluorescent tubes/ballasts – mercury waste cannot go to regular trash.
- All modified fixtures require permanent warning labels per NEC/UL standards.
- Use safety lanyards for all overhead LED panels to prevent falling hazards.
- Do not overload circuits; LED draws far less power but check circuit ampacity for multiple troffers.
6. Post-Upgrade Benefits
- 55–70% lower electricity consumption
- 50,000+ hour LED lifespan (vs 10,000hr fluorescent tubes)
- No flickering, instant full brightness, zero warm-up time
- Lower maintenance costs (no tube/ballast replacements for years)
- Eligible for utility energy rebates with DLC-certified LED kits
Troubleshooting Common Issues
- Lights flicker: Loose wiring, incompatible dimmer, faulty LED driver
- Uneven brightness: Old dirty reflectors (use retrofit kit instead of TLED tubes)
- No power: Recheck breaker, wire nut connections, ground wire
- Buzzing noise: Ballast not fully removed (Type B bypass) or cheap dimmer


