

1. Electrical & Light Faults (Most Frequent)
① Light flickers or cannot light up
- Causes
- AC & DC wires mixed up; reversed DC positive/negative between driver and lamp
- Loose wire terminals, poor contact
- Non-dimmable lamp + dimmer switch, or mismatched dimmable driver & dimmer
- Damaged driver or LED chip
- Solution: Check wiring polarity; use matching dimmer & driver; tighten all connections.
② Light turns off automatically after a short while
- Cause: Driver is covered by thermal insulation, poor heat dissipation → overheat protection activates.
- Solution: Reserve space for the driver; do not wrap it with cotton/thermal wool.
③ Buzzing/humming noise while lighting
- Cause: Low-quality driver; incompatible dimmer; loose wiring.
- Solution: Replace constant-current driver; use specified LED dimmer.
2. Ceiling Hole & Installation Structure Issues
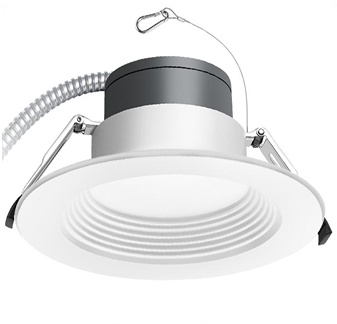
① The downlight keeps falling out of the ceiling
- Causes
- Ceiling hole cut too large
- Ceiling gypsum board is too thin, soft, and cannot bear spring clip tension
- Spring clips deformed or broken during installation
- Solution: Confirm standard cutout size; reinforce thin ceiling; handle springs gently when squeezing.
② Hard to insert the lamp into the hole
- Cause: Hole diameter smaller than required cutout size.
- Solution: Trim the ceiling edge moderately; do not forcibly squeeze the spring clips (easy to break).
③ Lamp surface is not flush with ceiling, tilting
- Cause: Uneven ceiling hole edge; one spring clip stuck.
- Solution: Clear obstacles above the ceiling; adjust clips before releasing.
3. Wiring & Driver Mistakes
❶ Burn out the LED lamp instantly after power on
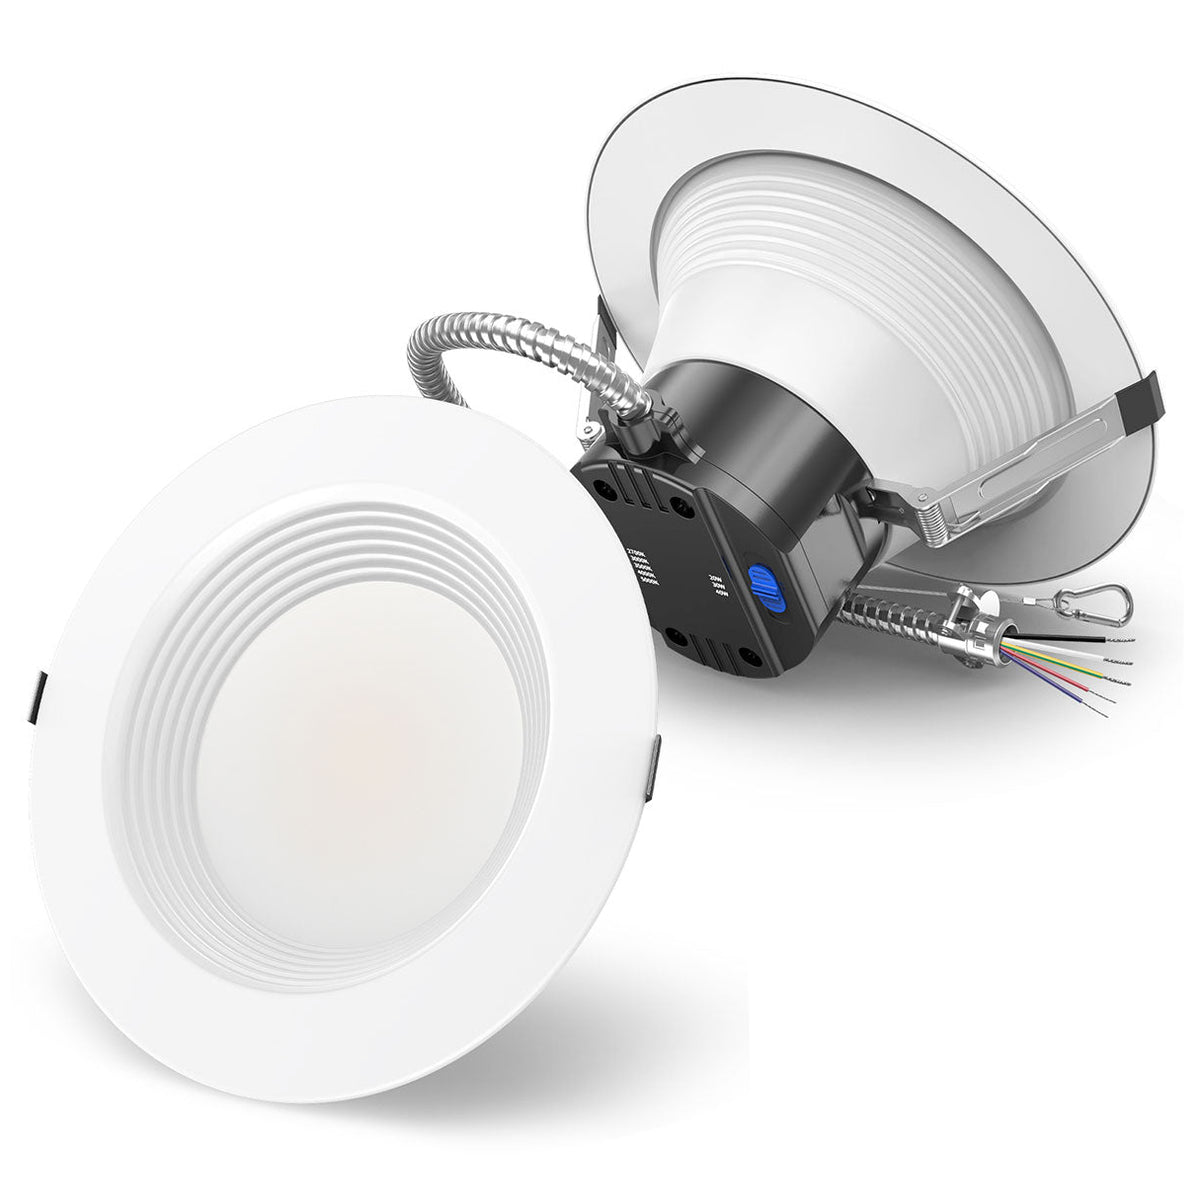
- Critical error: Directly connect 220V mains power to the LED lamp (bypassing the driver).
- Reminder: The LED lamp only accepts low-voltage DC; the driver is mandatory.
❷ Driver stuck and cannot be placed above ceiling
- Cause: Insufficient cavity height above ceiling.
- Solution: Choose low-profile driver or slim-type downlight.
4. Waterproof & Environment Issues (Bathroom/Balcony)
Light fails prematurely in wet areas
- Cause: Install ordinary IP20 indoor downlight; cable entry not sealed; driver exposed to water vapor.
- Solution: Use IP44/IP54 waterproof model; place driver outside splash zones.
5. Post-installation lighting effect problems
Uneven lighting, dark areas between lamps
- Cause: Improper spacing between downlights (too far apart) or wrong beam angle selection.
- Suggestion: Keep spacing 80–120cm for general ambient lighting.
Severe glare hurting eyes
- Cause: Ordinary flat panel downlight without anti-glare structure.
- Solution: Select deep recess anti-glare downlights (low UGR).
6. Hidden long-term risks
- Wire squeezed between ceiling and lamp body → insulation damage, risk of short circuit.
- Unconnected earth wire for aluminum housing lights → electric shock hazard if leakage occurs.
Troubleshooting Summary Table
| Phenomenon | Main Reason | Fix |
|---|---|---|
| Flickering | Mismatched dimmer / loose wiring | Replace dimmer; resecure terminals |
| Auto shut down after minutes | Driver overheating | Keep driver away from insulation |
| Lamp drops down | Hole too big / thin ceiling | Adjust hole size or reinforce ceiling |
| No light at all | DC positive-negative reversed | Swap lamp wires |
| Lamp burned immediately | Mains directly connected to lamp | Must install driver between power and lamp |
Do you need to hire an electrician? Clear judgment standard
1. You can install by yourself only if all these conditions
You can safely turn off the main power switch and verify no voltage with a tester
You understand basic wiring rules (Live / Neutral / Earth; AC driver input & DC lamp output separation)
Ceiling already has pre-wired cables for downlights (no need to run new wires through walls/ceiling)
You only need to cut ceiling holes, connect terminals and fix the lamps
You have proper tools and know not to squeeze wires or damage insulation
⚠ Important risk: If you make wiring mistakes, you may cause short circuit, lamp burnout, or electric shock.
2. You MUST hire a licensed professional electrician if any item applies
- No pre-existing wiring — need to run new electrical cables inside ceiling/wall
- You need to modify the household lighting circuit, add new circuit breakers
- Installation in wet zones: bathroom, shower area, open balcony (strict waterproof wiring standards)
- You plan to install dimmable LED downlights (needs matching dimmer wiring setup)
- You are unfamiliar with AC electricity, do not own a voltage test pen
- Ceiling structure is complicated (thick concrete, hidden pipes/wires above gypsum board)
- Local building codes require certified electricians for electrical modifications

3. Simple risk comparison
Self-install advantages
- Save labor cost
Self-install hidden risks
- Wrong wiring → short circuit, tripping circuit breaker
- Missing earth wire on metal lights → electric leakage hazard
- Driver covered by insulation → overheating, fire risk
- Improper hole cutting damages ceiling structure
- Incorrect waterproof handling → lights fail quickly in damp areas
4. Practical suggestion
- Simple replacement: Old downlights removed, wires already reserved. If you have basic electrical knowledge → you can try yourself, strictly follow the checklist we talked about.
- New whole-house layout / new wiring: Strongly recommend hiring a professional.
Extra reminder
Many insurance policies will void claims for fire or electric accidents caused by unlicensed self-done electrical work.


