

Important safety first:
Always turn off the mains electricity at the consumer unit/fuse box before starting any electrical work. If you are unsure about wiring, hire a qualified electrician. In many regions, hardwired lighting installation requires certified tradespeople to meet building regulations.
Tools & Materials You Will Need
- LED recessed downlights (check cut-out size first)
- Tape measure, pencil
- Hole cutter / drywall hole saw (matching downlight cut-out dimension)
- Drill
- Screwdriver
- Electrical screwdriver / wire strippers
- Electrical connector block / terminal connectors
- Voltage tester
- Safety gear: safety glasses, dust mask
- Optional: stud finder (to avoid ceiling joists)
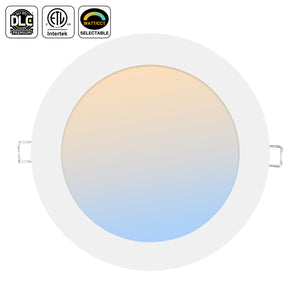
Step 1: Plan & Mark Ceiling Positions
- Use a stud finder to locate ceiling timber joists. Do NOT cut holes over joists.
- Mark the centre point for each downlight on the ceiling. Follow typical spacing: 80–120 cm apart for general lighting.
- Check the manufacturer’s label for the cut-out diameter (e.g. 70mm, 90mm, 95mm).
Step 2: Cut Ceiling Holes
- Drill a small pilot hole at your marked centre.
- Attach the matching hole saw to your drill. Cut neatly through plasterboard/drywall.
- Remove the circular plaster disc. Clear away dust.
- Double-check the hole size – the light body should fit loosely.
Step 3: Run Electrical Cabling
- Route lighting cable from your existing lighting circuit / switch to each ceiling hole.
- Use 1.0mm² or 1.5mm² twin & earth lighting cable.
- Leave around 20–30 cm of cable hanging down through each ceiling hole for easy connection.
Note: Most modern LED downlights come with an LED driver (transformer). Some drivers sit inside the ceiling void; some are attached to the light fitting.
Step 4: Wire the LED Downlight
Two common types:
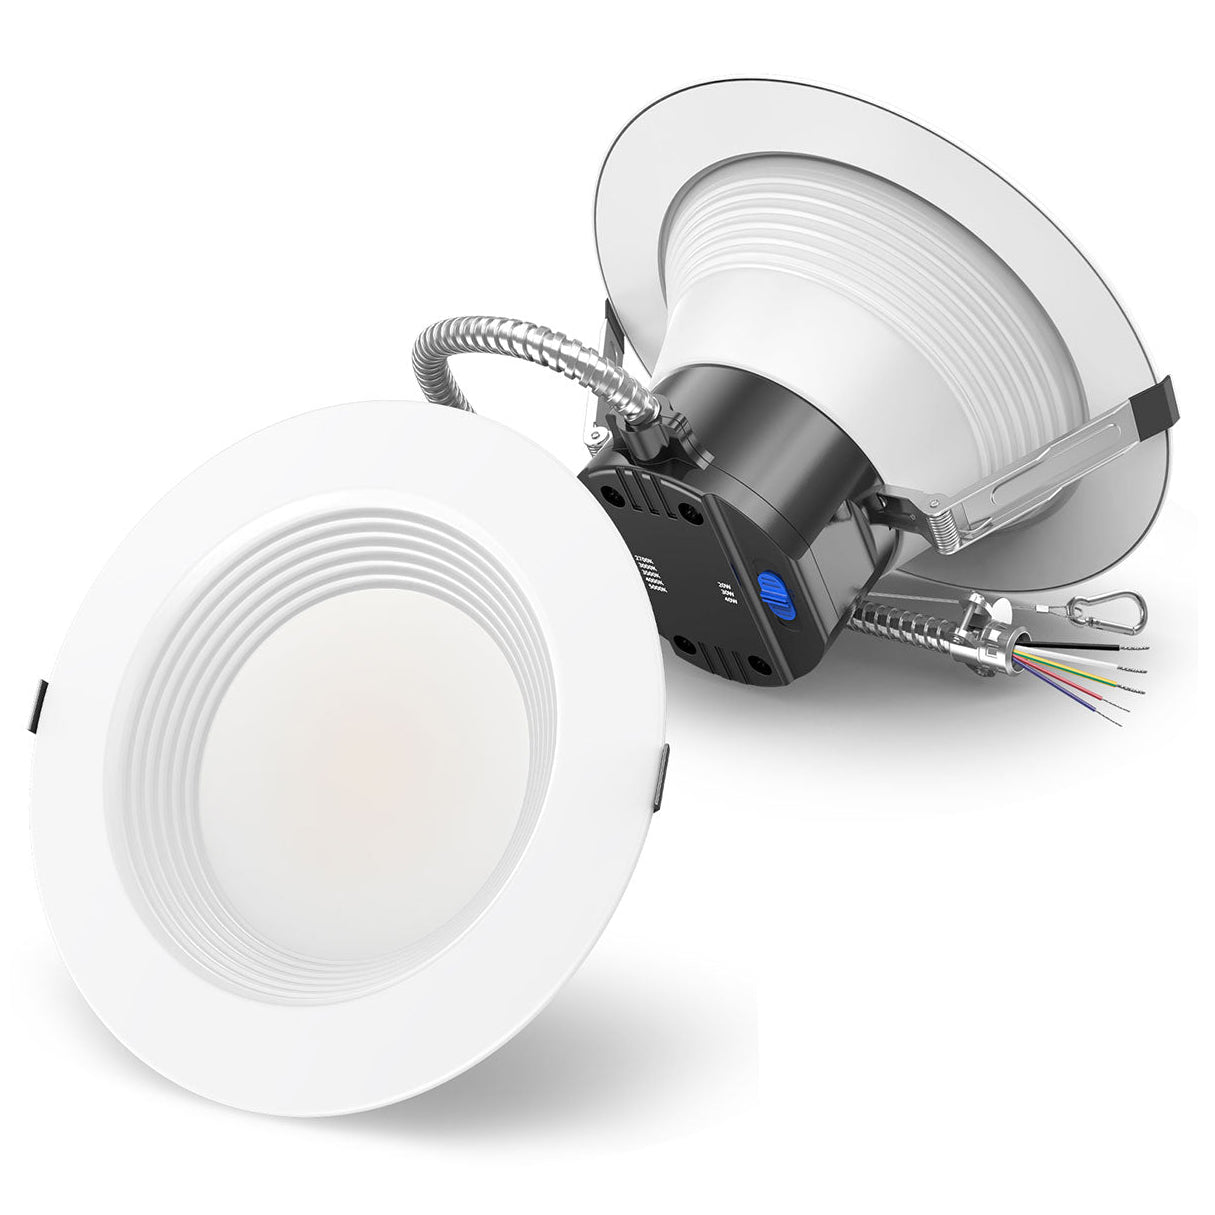
Type A: Integrated fitting with separate driver
- Open the driver terminal block.
- Connect mains cable:
- Brown = Live (L)
- Blue = Neutral (N)
- Green/Yellow = Earth (E)
- Connect the low-voltage cable from the driver to the LED lamp module.
Type B: Mains-voltage (230V) direct LED downlight
Directly connect mains L, N, Earth to the fitting’s terminal block.
Always secure all wires firmly; no loose strands. Fit cable grips to prevent tension pulling wires loose.
Step 5: Fit the Downlight into the Ceiling
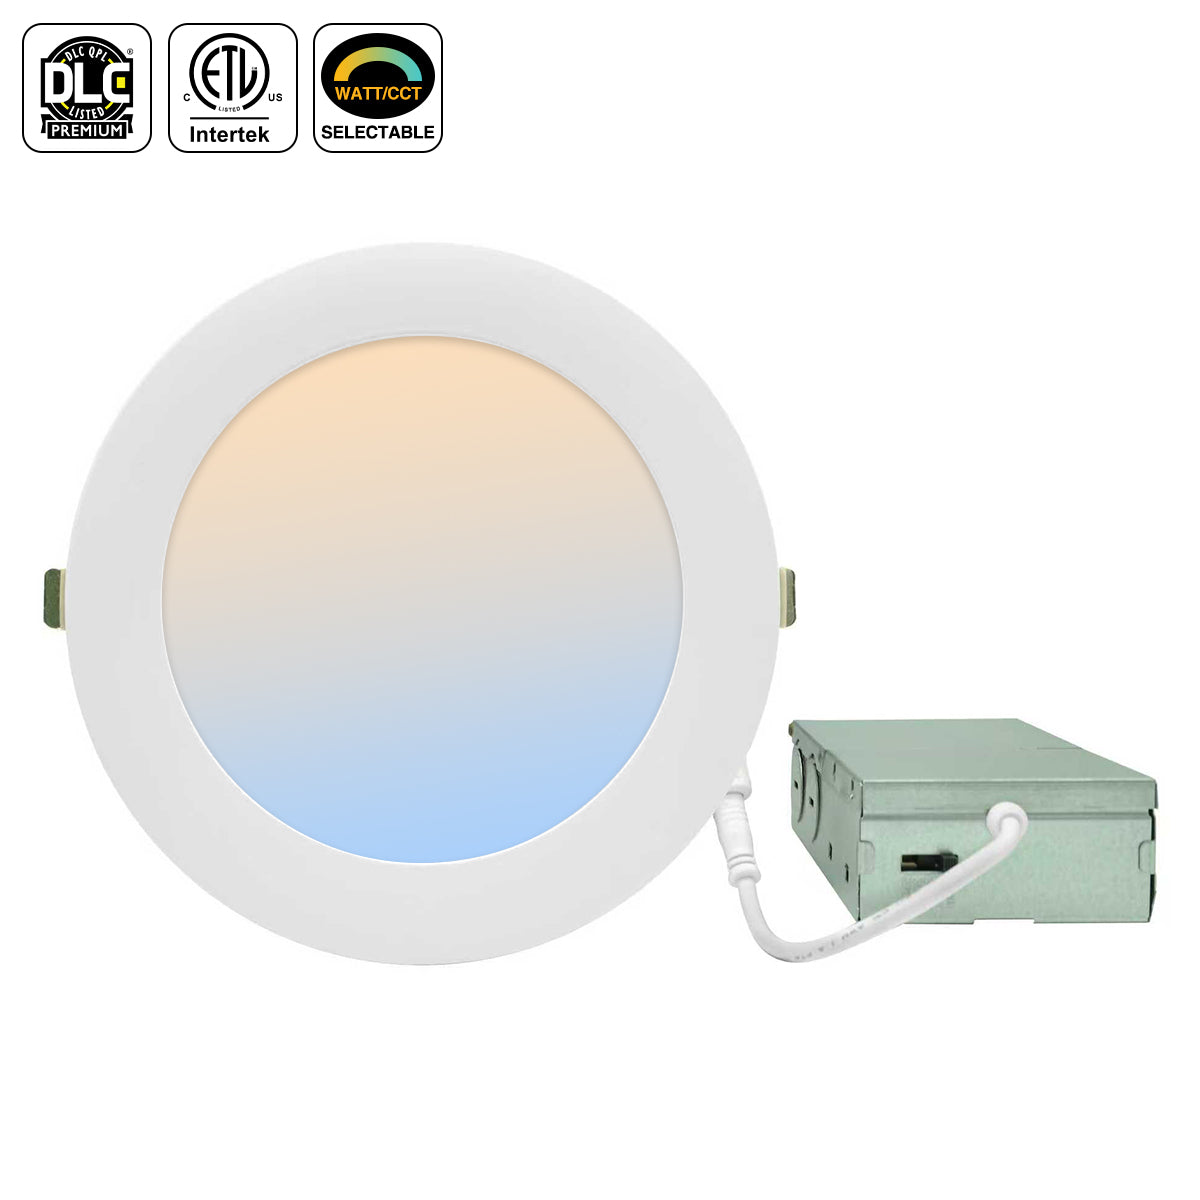
- Fold the spring retention clips on both sides of the downlight upwards.
- Push the whole fitting gently up through the ceiling hole.
- Once fully through, the spring clips will spring open inside the ceiling void.
- Pull down lightly on the front trim to confirm it is locked securely against the ceiling surface.
Do not force the unit – if tight, trim the ceiling hole slightly.
Step 6: Final Check & Power On
- Double-check all wiring connections.
- Tuck excess cable and driver neatly into the ceiling void (leave space for heat dissipation – do not crush cables).
- Turn the mains power back on. Switch on and test each light.
Critical Safety & Installation Tips
-
Heat clearance: Maintain minimum clearance above the downlight (manufacturer specifies distance, often 50–100mm). Keep away from ceiling insulation unless buying insulation-safe IC-rated downlights.
Non-IC rated lights cannot be covered by thermal insulation – fire risk!
- Dimming: If you want dimmable lights, buy dimmable LED downlights + compatible LED dimmer switch. Standard old dimmers will cause flickering.
- Fire rating: For many homes, fire-rated downlights are required to slow fire spread between floors.
- Waterproof: Bathrooms/shower zones need IP44 or higher IP rated downlights.
Common Problems
- Lights flicker: incompatible dimmer, loose wiring, poor driver quality
- Light falls out: ceiling hole too large, broken spring clips
- Overheating: covered by insulation (use IC-rated fittings)
Quick Printable Checklist – Install LED Downlights
FIRST: Switch OFF mains power at fuse box. Use voltage tester to confirm no power.
Tools
- Tape measure, pencil, stud finder
- Drill + hole saw (match light cut-out size)
- Wire strippers, screwdrivers, terminal blocks
- Safety glasses, dust mask
Steps
- Mark positions, avoid ceiling joists. Leave 80–120cm spacing.
- Drill pilot hole → cut ceiling holes with hole saw. Clear debris.
- Run lighting cable to each hole, leave 20–30cm slack wire.
- Wire:
Brown = Live (L)Blue = Neutral (N)Green/Yellow = Earth (E)Connect cable to LED driver / light terminal block.
- Fold spring clips upward, push fitting into ceiling hole.
- Clips spring open; tug trim lightly to check secure fit.
- Tuck driver & loose wiring into ceiling void (do not squash).
- Restore power and test lights.
Must-Remember Rules
IC-rated lights only if covered by ceiling insulation
Bathroom: IP44+ waterproof model
Dimming = dimmable LED + LED-specific dimmer
Leave manufacturer required clearance for heat
Do not cut holes over joists
No loose exposed wire strands


