

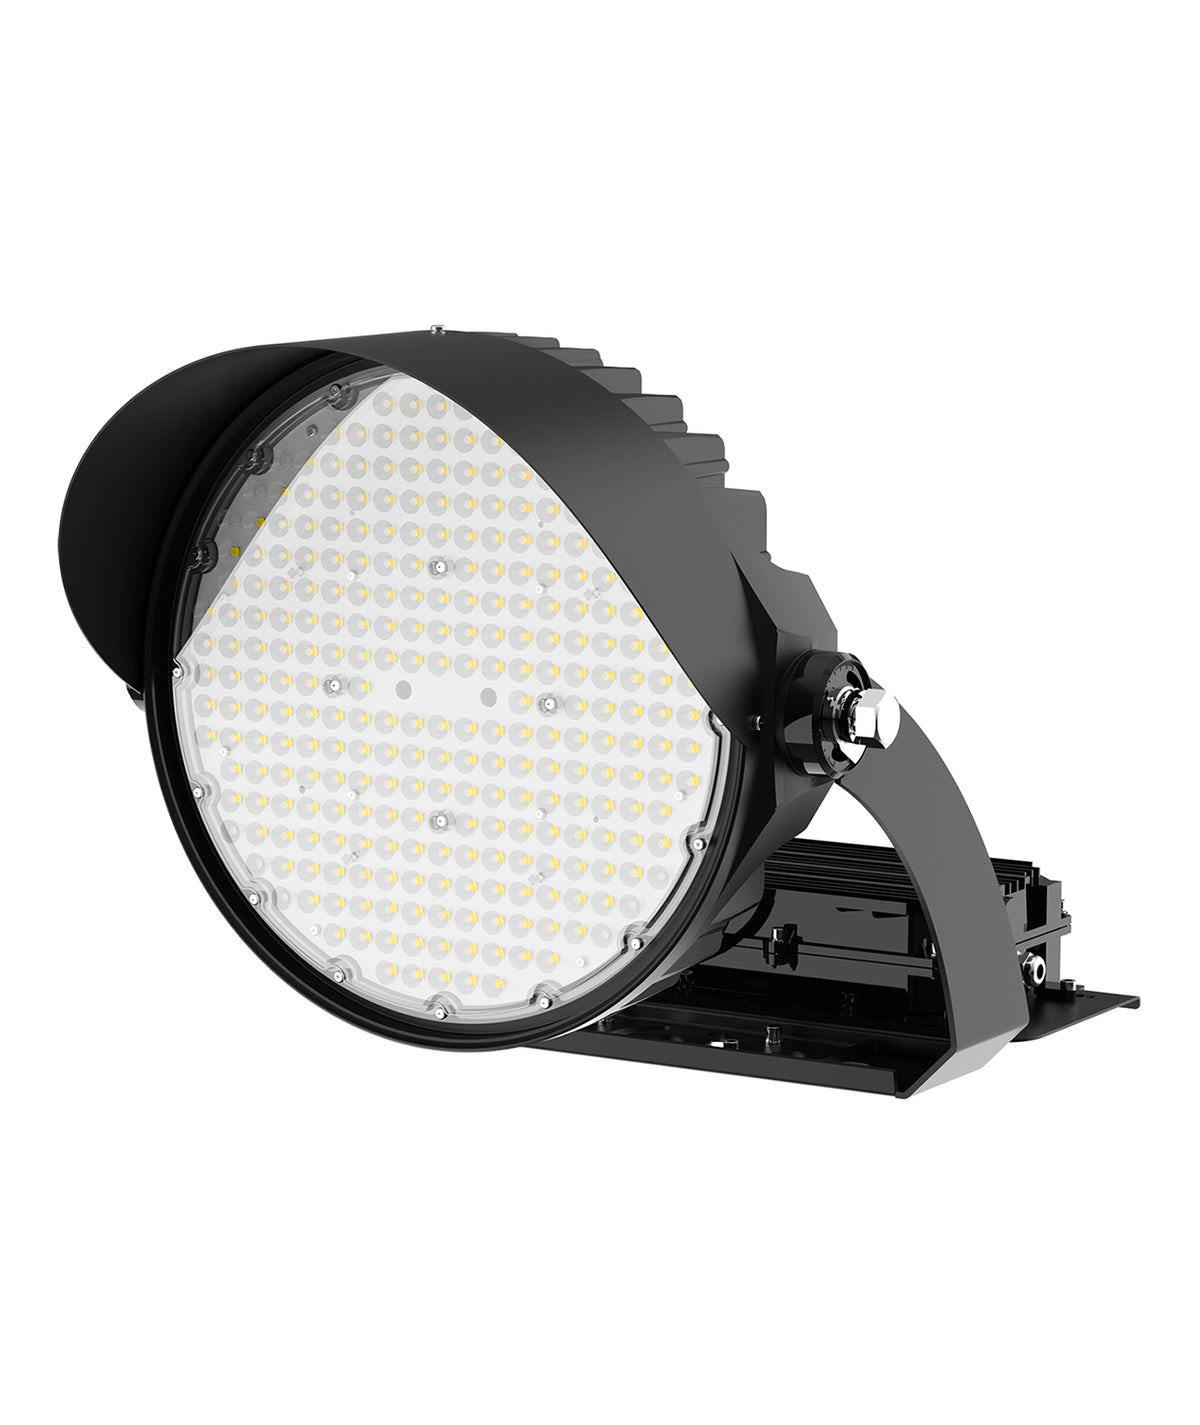
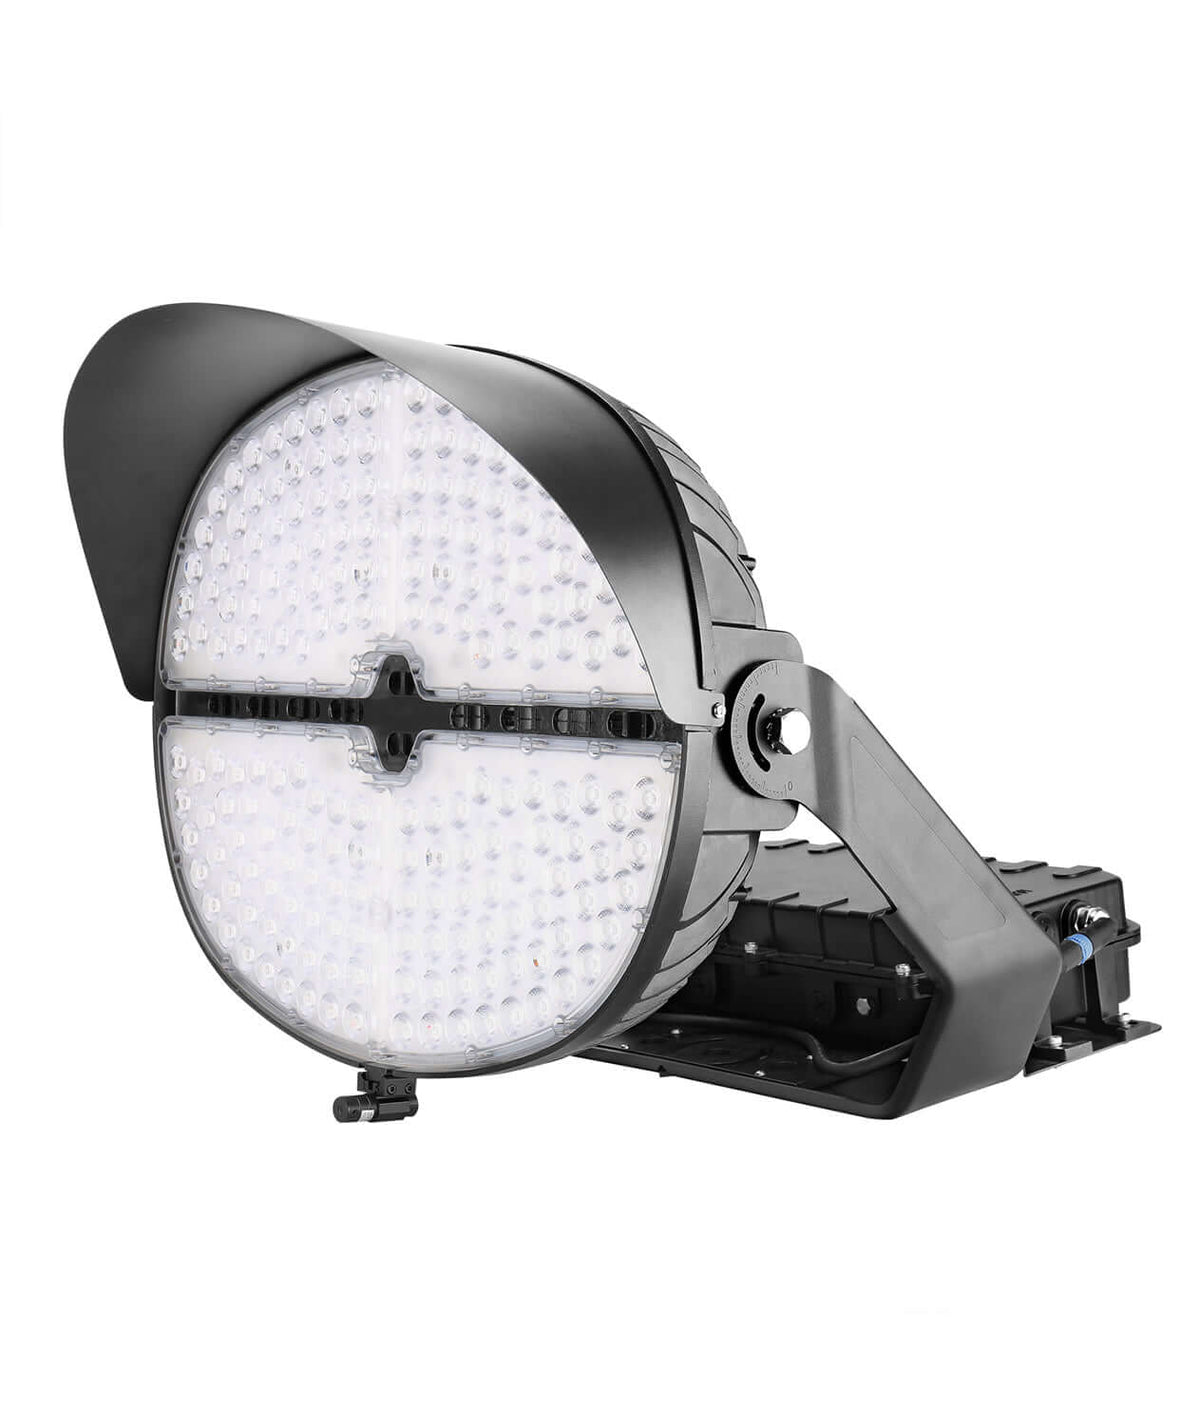
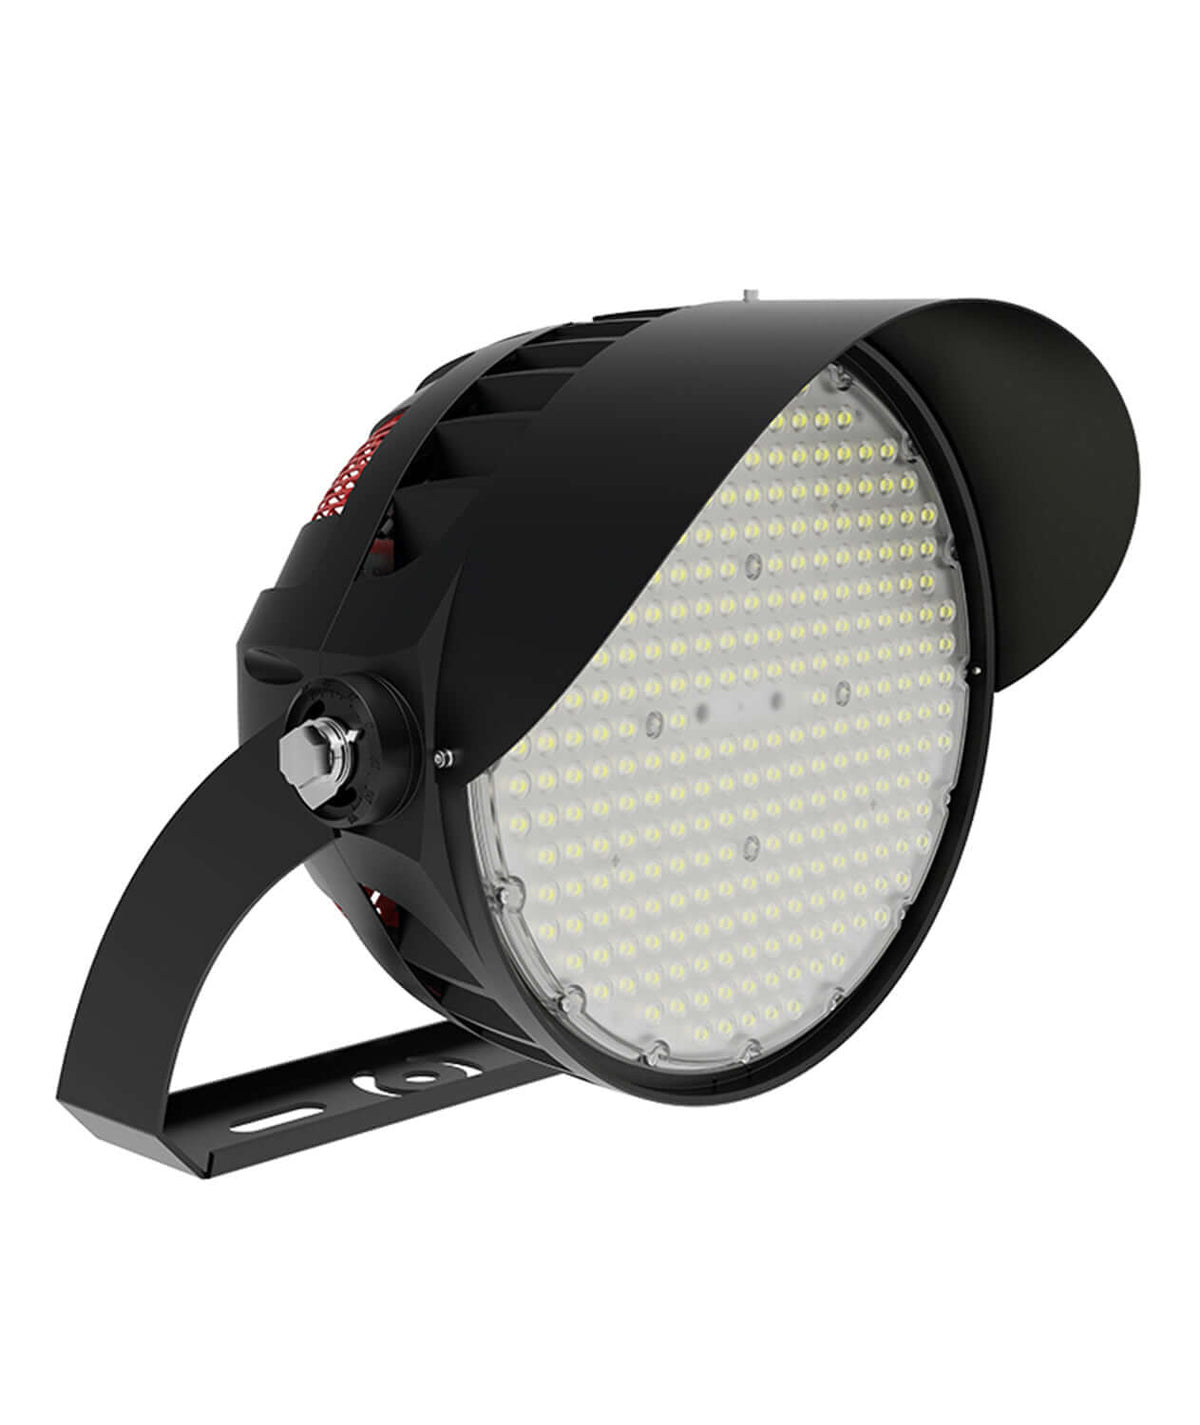
LED sports stadium lights are high-power outdoor LED floodlights specially designed for sports venues. They are installed on high poles to provide uniform, long-distance illumination for football fields, basketball courts, athletics stadiums, tennis courts and other sports grounds.
These lights replace traditional metal halide lamps. With professional optical lenses, they precisely control light distribution, reduce light spill and glare, and can meet the lighting requirements for daily training and live TV sports broadcasting.
Key Features (simple version)
- High power range: 200W ~ 1600W
- Multiple beam angle options: 15°, 25°, 40°, 60°, 90°
- IP66 waterproof & dustproof, suitable for outdoor all-weather use
- High luminous efficiency, energy saving, long service life
- Optional dimming function: 0-10V, DALI
- High color rendering, low flicker for camera shooting
Short introduction for product page
LED Sports Stadium Lights are professional high mast lighting solutions for all kinds of sports venues. Excellent heat dissipation and precise optical design ensure even illumination, low glare and great energy efficiency. Widely used in outdoor stadiums and sports centers.
How Choose LED Sport Stadium Lights ?
Complete buying guide Step By Step
1. Confirm the sports field size & lighting standard
First decide which venue you will light up: football pitch, basketball court, tennis court, athletics stadium.
- Recreational training field: lower lux requirement
- Professional competition venue / HD live broadcast: strict lux, uniformity, flicker-free requirements
Key index: Average Lux, Uniformity Ratio (Uo/U1)
2. Power selection
Common power options: 300W, 400W, 600W, 800W, 1000W, 1200W, 1500W
Rule of thumb:
- Small courts (basketball, tennis): 300W–600W
- Standard football field & athletics track: 800W–1200W
- Large professional stadium: 1000W–1500W
*Do not simply pursue higher power. Reasonable layout + proper beam angle is more important.
3. Beam angle selection (very critical)
Lens angles: 15°, 25°, 30°, 45°, 60°, 90°
- 15°~25° Narrow angle: high mast installation, long-distance projection for large stadium
- 30°~45° Medium angle: most common for football fields
- 60°~90° Wide angle: short pole height, small basketball/tennis courts
4. Key optical parameters
- Luminous efficacy: ≥140lm/W recommended
-
CRI (Color Rendering Index):
- General training: Ra>70
- Live broadcast competition: Ra>80 / Ra>90
-
Color temperature:
- 4000K: warm neutral, comfortable for viewers
- 5000K: most popular stadium light, natural daylight
- 5700K: bright cool white, for high visibility outdoor venues
-
Flicker-free:
Stadiums with video recording/live stream must choose flicker-free driver. Support 0-10V / DALI / DMX dimming.
5. Waterproof & housing structure
- Minimum standard: IP65; better choice: IP66
- Housing: Die-cast aluminum, good thermal dissipation. Poor heat dissipation will shorten LED lifespan.
- Surge protection: ≥10KV recommended for outdoor open areas to resist lightning strike voltage surge.
6. Installation condition
Check these before ordering:
- Height of light poles
- Installation angle (need adjustable brackets)
- Distance between each light pole
- Power supply voltage: AC85-265V universal or customized 220V/400V
7. Lifespan & warranty
Ask supplier for L80 data: L80 ≥50,000 hours
Warranty: Normally 3–5 years for quality stadium lights. Avoid cheap lights with only 1–2 year warranty.
8. Ask for IES file
If it is an engineering project, require suppliers to provide IES file. You can simulate lighting effect with Dialux software to verify lux and uniformity.
Simplified short version
How to choose LED Sport Stadium Lights
- Clarify venue type and whether it needs live broadcast
- Calculate required average lux and confirm pole height
- Select suitable power and beam angle
- Check CRI, CCT and flicker-free performance for competition use
- Confirm IP rating, heat dissipation and surge protection
- Get IES file for lighting simulation in engineering projects
- Compare warranty and driver brand quality
How to Install and Maintain LED Sport Stadium Lights
Part 1 — Installation Instructions
1. Pre-installation Preparation
- Check the light: Verify model, power, voltage, IP grade, bracket and accessories are complete; inspect housing, lens and cable for damage.
- Confirm working voltage: Match AC85–265V or customized 380V power supply.
- Safety reminder: Installation must be carried out by qualified electricians. Cut off main power before operation.
- Prepare tools: High-altitude lifting equipment, torque wrench, waterproof cable glands, insulated wires, sealing silicone.
2. Mounting Steps
- Fix the adjustable mounting bracket firmly on high mast / steel structure. Tighten bolts with proper torque to prevent loosening under strong wind.
- Install the stadium light onto the bracket, adjust vertical & horizontal projection angle, then lock all screws.
Tip: Reserve enough space around the fixture for heat dissipation. Do not block heat sinks.
- Wire connection:
- Make waterproof cable joints; use insulation tape and waterproof boxes.
- Distinguish Live (L), Neutral (N) and Earth (PE) wire. Earthing connection is mandatory for outdoor safety.
- Seal all entry points of power cables to stop rain, dust and moisture ingress.
- Power-on test: Switch on power, check if all lights light up normally; test dimming function (0–10V / DALI / DMX) if equipped.
3. Key Installation Warnings
- Do not install in environments prone to sustained corrosive gas (seaside salt spray needs anti-corrosion treatment).
- Avoid aiming lamp lens directly toward strong sunlight for long time when powered off.
- Leave safe distance between multiple lights; prevent mutual thermal accumulation.
- Lightning-prone areas must install external surge protection devices.
Part 2 — Daily Maintenance Guide
1. Regular Inspection Cycle
- Routine visual check: Every 1–3 months
- Comprehensive inspection & cleaning: Every 6–12 months
- Full electrical safety test: At least once per year
2. Regular Inspection Items
- Housing & lens
Check for cracks, water fog inside the light, dirt accumulation on lens. Fogging means poor sealing; repair or replace immediately.
- Fasteners & bracket
Check bolt tightness; anti-rust coating damage. Retighten loose parts to avoid falling risk in wind.
- Cables and connectors
Look for aging insulation, cracks, water penetration at wiring terminals. Replace aged cables timely.
- Electrical performance
Check abnormal buzzing, flickering, overheating. Flickering usually indicates unstable driver.
- Light output
Observe obvious brightness drop, which may come from lens dirt or LED chip decay.
3. Cleaning Operation
- Cut off power supply completely before cleaning.
- Wipe lens and radiator with soft damp cloth.
- Do NOT use strong corrosive detergent, high-pressure water gun directly flush the lamp shell.
- Clear dust on heat sinks to guarantee heat dissipation. Poor cooling greatly shortens LED service life.
4. Fault Handling Tips
- Light does not turn on: Check power supply, wiring contact, driver failure.
- Flickering lighting: Loose wire connection, defective driver, unstable grid voltage.
- Partial dark area inside lamp: Damaged LED chip array.
- Water inside fixture: Seal failure; stop using to avoid short circuit.
5. Long-term Shutdown Maintenance
If the stadium stops using lights for months:
- Cut off main power.
- Clean lens and heat sink.
- Check sealing status; cover lights if exposed to severe weather.
Short Version
How to install and maintain LED Sport Stadium Lights
Installation
- Power off before work; install by certified electricians.
- Secure fixture on high mast, adjust lighting angle and lock brackets.
- Complete waterproof wiring and reliable earthing.
- Conduct power-on test after installation.
Maintenance
- Inspect brackets, cables and housing every several months.
- Regularly clean dust on lens and heat sink. Do not wash with high-pressure water directly.
- Check for water fog inside the lamp, loose wires or flickering.
- Timely replace damaged drivers and aging accessories.
- Always cut power before any maintenance work.


