

How to Check The LED Work Light Is Broken?
1. Basic power test
Corded plug-in work light
- Plug another device into the same wall socket to confirm the outlet has power.
- Swap the light’s power cord with a matching cord (if possible).
- If the light still does nothing: The light itself is faulty.
- If it turns on with a new cord: Only the cord is broken, not the LED board.
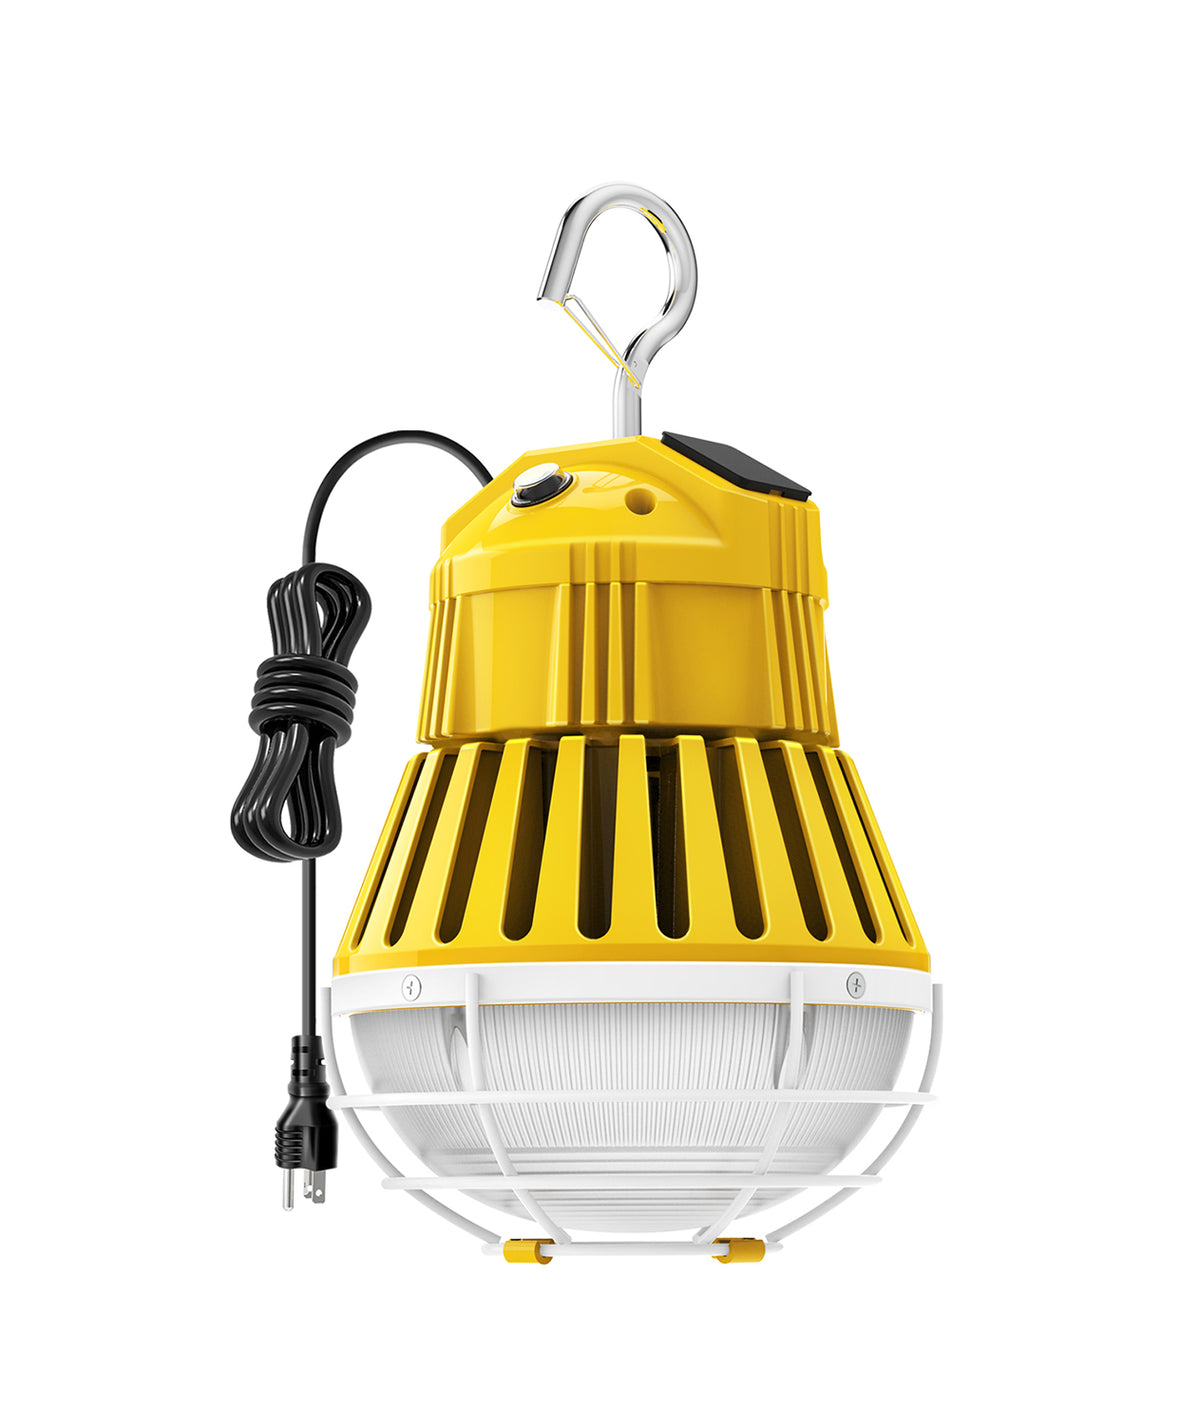
Rechargeable battery work light
- Charge it fully for the recommended time.
- Try a spare matching battery pack if you have one.
- Works with new battery = old battery is dead, LEDs are fine.
- Still dead with new battery = LED/internal circuit failure.
2. Visual inspection to spot broken LED chips
Open the light cover and look directly at the LED panel beads:
- Clear sign of dead LEDs: Small black/brown burnt marks in the center of square LED beads.
- Partial lighting: Only half / a few strips light up → those dark beads are broken.
- Discolored, bubbled resin on LEDs = overheated and damaged.
3. Behavior signs that confirm LED/circuit damage
Total failure (100% broken light)
- No light at all, even with full power/battery, no flicker, no dim glow.
- No indicator charging light, no hum from the driver.
Partial LED damage
- Flickers constantly when turned on
- One section of the panel stays dark while others light
- Light starts bright then slowly dims within minutes
- Turns on briefly then shuts off automatically (overheat from burnt LEDs)
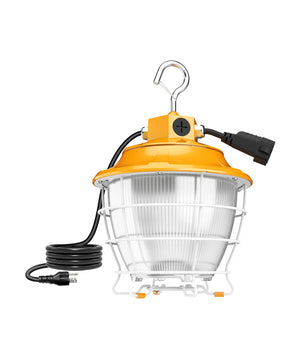
- Light flashes on/off rapidly
- Very dim output even with full power
- Burning plastic smell inside the housing
- Swollen, bulging capacitors on the small circuit board = driver broken, LEDs may also be damaged
4. Simple extra test to separate LED vs other parts
- If you hear a faint buzz inside but no light: Driver works, LED panel is broken.
- If no buzz, no light: Driver, wire, or switch is broken (LEDs might still be okay).
- If the light flickers when you wiggle the cord/switch: Loose wiring, LEDs are intact.
Quick summary checklist
Broken LED beads: Black burnt spots, partial dark panel
Broken driver: Flickering, dim light, burnt smell, swollen capacitors
Broken battery/cord: Light works when swapping power source
Broken switch: Intermittent on/off, no response when pressing button
Fully dead light: No glow, no hum, full power supply confirmed
How to Fix a Broken LED Work Light?
Safety First
- Unplug the light / remove all batteries before any disassembly.
- Wear gloves; LED circuit boards can burn fingers when powered.
- Avoid touching bare driver boards with wet hands (risk of electric shock).
1. Light won’t turn on at all (Most common fault)
A. Power supply issue (corded lights)
- Check the power cord for cracks, frays, bent plugs.
- Test the wall outlet with another device to confirm power works.
- Inspect the inline power switch: toggle repeatedly; if loose/wobbly, the switch is burnt out and needs replacement.
- Test the LED driver (rectangular black box inside housing):
If the driver feels swollen, smells burnt, or has bulging capacitors → replace the driver with the same voltage/wattage model.
B. Battery failure (rechargeable cordless work lights)
- Charge fully for 3–6 hours; dead internal battery packs lose capacity over time.
- If charging light doesn’t light up: clean metal charging contacts on light/battery with rubbing alcohol.
- Battery pack swollen, hot, or no hold charge → replace the lithium battery pack.
C. Loose internal wiring
- Open the light housing (screws on back/edge).
- Check wires connecting driver to LED panel: look for disconnected, melted, or corroded joints.
- Re-solder loose wires with a soldering iron; cover joints with heat shrink tape.
2. Light dim, flickers, or only part of LEDs light up
A. Burnt individual LED chips
- Visually inspect the LED panel: black/brown spots on small square LED beads = dead chips.
- Repair options:
- Replace single LED beads (match voltage: 3V/6V common) with soldering iron.
- Swap the entire LED panel (easier for beginners, match wattage/dimensions).
B. Faulty LED driver
Flickering almost always comes from a failing driver that can’t supply steady current. Swap a matching driver to test.
C. Poor heat dissipation
LEDs overheat and burn out fast if heat sink (metal back plate) is covered in dust/grease. Wipe metal heat sink clean to restore cooling.
3. Turns on but shuts off after a few minutes
- Overheating protection trigger: clogged vents, blocked heat sink, damaged cooling fan (if equipped). Clear dust from vents.
- Driver overloaded: too many dead LEDs force the driver to overheat and cut power. Replace dead LED chips/panel.
- Battery overheat protection (cordless): worn battery cells trip safety cut-off; replace battery pack.
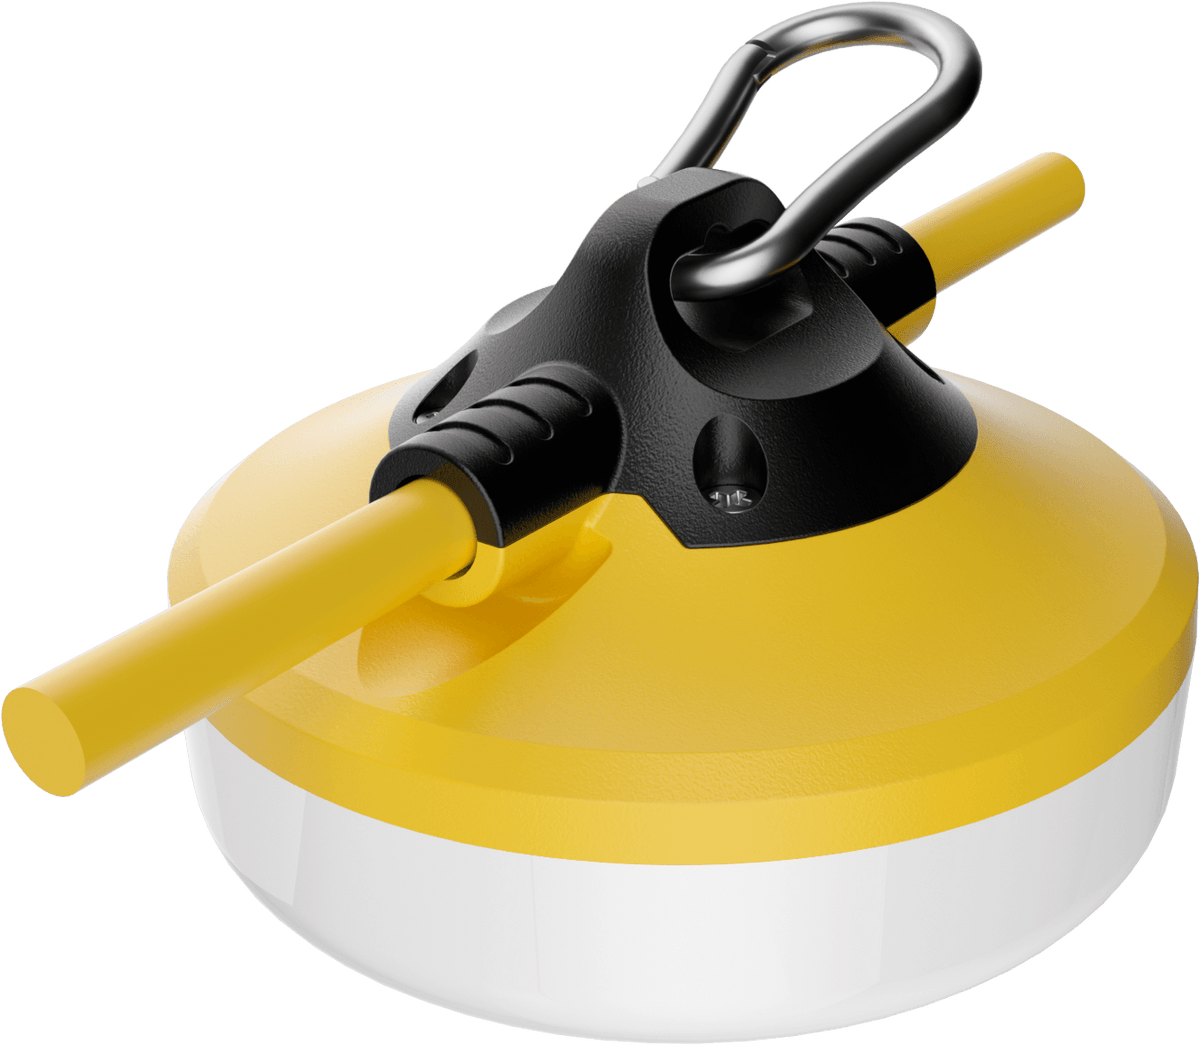
4. Water damage (work lights used outdoors)
- Immediately disconnect power, fully disassemble.
- Rinse circuit board with isopropyl alcohol, brush off dirt/corrosion.
- Dry completely with a fan for 24 hours; do NOT use heat gun (melts plastic).
- Check for rusted solder points; re-solder corroded wires.
- Re-seal housing with silicone gasket glue to prevent future water ingress.
5. Switch broken (can’t turn on/off reliably)
- Pry open the switch compartment, desolder the old plastic rocker/tactile switch.
- Install an identical voltage-rated replacement switch, re-solder wires.
Quick Replacement Parts List (Easy to Buy Online)
- LED driver (match V/W: e.g., 12V 30W / 24V 50W)
- Full LED panel
- Lithium battery pack (cordless models)
- Replacement power switch
- Single SMD LED beads
- Heat shrink tubing, solder, silicone sealant
When It’s Not Worth Repairing
- Heavy water corrosion across the whole circuit board
- Cracked main plastic housing with broken heat sink
- Multiple burnt LED panels + failed driver + dead battery (cost of parts equals a new light)


